



 日本語
日本語
 한국어
한국어

How to Build a Portable AI Voice Assistant With a Custom PCB?
KEY DEFINITION A portable AI voice assistant combines a microphone, processor, wireless connection, speaker, battery, and controls in one handheld device. An ESP32-S3 can manage audio and the interface while a cloud service generates conversational replies. Prove that workflow on development boards, then design a carrier PCB, export Gerber and drill files, order prototypes, and test the assembled unit.
A portable AI PCB integrates the controller, audio interface, power system, wireless connection, and user controls of a handheld AI device onto one compact board. The most reliable development path is to prove the conversation with development modules, design the PCB around the enclosure, prepare the manufacturing data, and validate the assembled device under real operating conditions.
A voice assistant may work perfectly on a desk and still fail as a portable product. Loose wiring takes up space, the battery competes with the antenna, and the speaker can interfere with the microphone. A custom PCB solves these problems only when it develops from a tested prototype and a realistic mechanical plan.
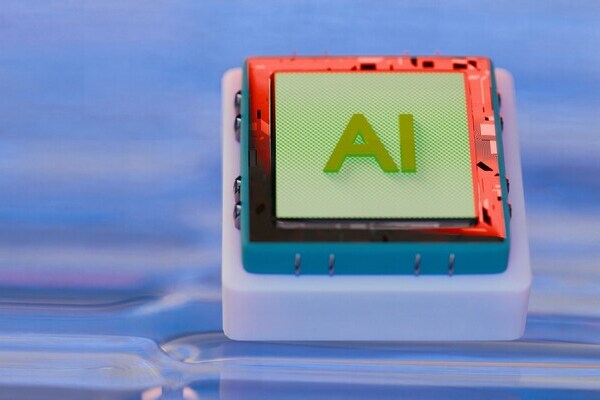
Which portable AI architecture fits the job?
Before reducing the device to a custom board, the development prototype should complete the same interaction expected from the finished product. Development modules make it easier to replace one subsystem at a time, allowing hardware faults to be separated from firmware and network problems.
| Subsystem | Function in the prototype | What to verify |
|---|---|---|
| ESP32-S3 plus cloud | Coordinates audio, controls, and Wi-Fi | Stable boot and repeatable requests |
| Digital microphone | Captures the user’s question | Clear audio at a normal speaking distance |
| Amplifier and speaker | Plays the AI response | Intelligible sound without system resets |
| Button and display | Controls and explains device status | Clear feedback during every operating stage |
| Battery system | Supports portable operation | Stable voltage during peak loads |
Test several complete question-and-answer cycles using battery power. Measure the supply voltage while Wi-Fi is active and while the speaker is playing, because short current peaks can expose a weak regulator, battery connection, or power trace.
The prototype should also be tested inside a temporary enclosure when possible. Closing the case may reduce Wi-Fi range, change the speaker response, or cause the microphone to capture more feedback. Discovering these problems now is much less expensive than finding them after PCB fabrication.
Once the conversation works consistently, the component selection, pinout, power requirements, and mechanical constraints are stable enough to support a custom PCB.
Design the portable AI PCB around the enclosure
The PCB should convert the proven circuit into a compact and repeatable assembly. Start with the physical product: display window, talk button, speaker outlet, microphone opening, charging connector, battery dimensions, and mounting points. Print the proposed board outline at full size and compare it with the real parts before placing traces.
Component placement: Put the button within natural thumb reach, align the display with its window, and leave room for cables, screw bosses, and battery movement.
Antenna space: Place the ESP32-S3 module at the PCB edge. Keep copper, traces, the battery, the speaker, and metal fasteners outside a 15 mm clearance area around the antenna, then test Wi-Fi again with the case closed.
Power integrity: Use the measured peak load to size the regulator and power paths. Keep a continuous ground reference and place decoupling components close to the devices they support.
Audio separation: Keep the microphone away from the speaker path and noisy switching components. The enclosure should not channel speaker output directly toward the microphone.
Debug access: Include programming access and test points for key power rails so the first assembled board can be diagnosed without damaging the case.
After completing the schematic and PCB design rule checks, review the entire design from an assembly perspective. Confirm the orientation of connectors and polarized components, check the available mounting clearance, and ensure there is enough space for manual soldering or automated component placement.
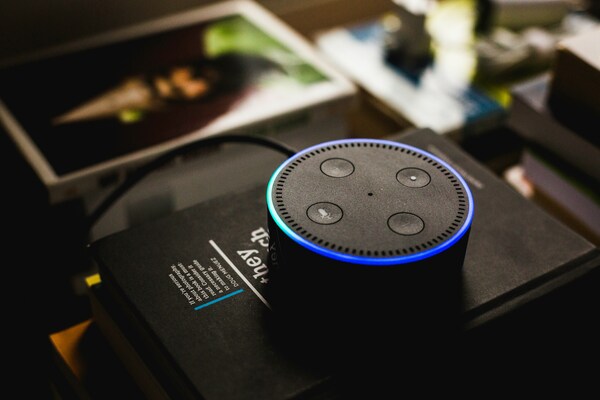
Move Naturally From PCB Design to Manufacturing
A custom PCB should make the proven circuit repeatable and fit the enclosure. Start with a schematic that labels power rails, connector pinouts, audio signals, programming access, and test points. Keep the first revision easy to probe; a smaller board is of little value if a failed microphone or power rail cannot be diagnosed.
Board outline: Print the outline at full size and place the real display, switch, connectors, and battery beside it before routing.
Antenna space: Place the ESP32-S3 module at the edge of the PCB and maintain at least 15 mm of clearance around the antenna. Keep copper pours, traces, batteries, speakers, and metal fasteners outside this area. After final assembly, test Wi-Fi stability and range because the enclosure material and internal component placement may reduce antenna performance.
Audio placement: Separate the microphone from the speaker opening and noisy power parts; test for feedback with the enclosure closed.
Power integrity: Size traces and the regulator for measured peaks, and place decoupling parts according to the chosen module and IC data sheets.
Review: Run schematic and PCB rule checks, then inspect connector orientation, polarized parts, mounting holes, and assembly access manually.
Those checks are more valuable than an attractive 3D render. A printed outline and a physical stack-up can reveal a display window or battery collision before fabrication.
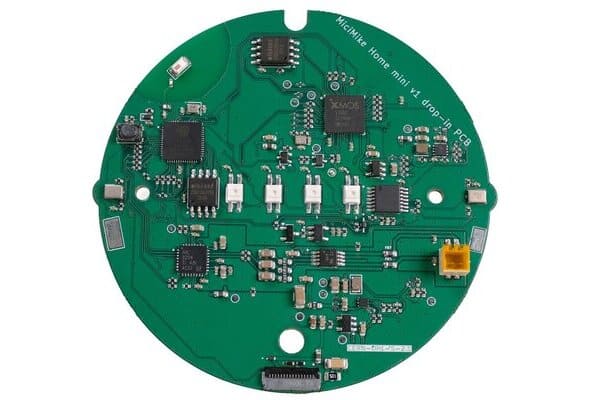
How PCBgogo Supports Your Portable AI PCB Project
PCBgogo supports the stage where a compact AI design must become a consistent physical product. A portable AI PCB combines dense component placement, wireless communication, audio circuitry, battery power, and strict enclosure limits. Manufacturing quality therefore affects electrical performance, assembly reliability, mechanical fit, and the speed of the next design revision.
PCBgogo can support portable AI hardware development in several practical ways:
Prototype and production support: Engineers can begin with a small prototype build for design validation and move toward larger production quantities after the board passes electrical, wireless, audio, and enclosure testing.
Compact PCB manufacturing: Standard multilayer, HDI, flexible, and rigid-flex PCB options support projects that require tighter routing, smaller enclosures, or electrical connections between differently oriented sections of a device.
Manufacturing review: Submitted PCB data is reviewed before production. Potential file or manufacturing questions can therefore be addressed before the design reaches the fabrication line.
Coordinated PCB assembly: PCBgogo can combine PCB fabrication, component sourcing, and assembly in one workflow. Its assembly capabilities cover surface-mount, through-hole, and mixed-technology designs, including packages commonly found in compact electronic products.
Quality inspection: Electrical testing helps detect open circuits and shorts in fabricated boards. Inspection processes such as AOI and X-ray can identify component placement problems, visible soldering defects, and hidden joints that require closer examination.
For a portable AI PCB order, provide the reviewed fabrication data, drill files, BOM, component placement file, and clear assembly notes. PCBgogo can coordinate these stages as one manufacturing project, reducing communication and consistency problems between separate fabrication, sourcing, and assembly suppliers.
The practical approach is to start with a small quantity, test the assembled devices, and release a larger order only after the first revision meets its performance targets. This makes PCBgogo part of the development process rather than a promotional mention added after the technical content.
PCBgogo - Reliable, High-Quality PCB Manufacturing
Save time and money with an all-in-one solution for PCB fabrication, assembly, and parts. Reduce vendor coordination, avoid split shipments, and get consistent, reliable quality.
Get Free Quote >
Bring Up the First Assembled Board Safely
The first assembled portable AI PCB is an engineering sample. Inspect the board edges, connectors, component orientation, and solder joints before applying power. Check that the PCB fits the enclosure and that the charging connector, button, display, microphone, and speaker align with their openings.
Use a current-limited power supply where practical. Confirm each regulated voltage before connecting the battery, then bring up the system in the same order used during development.
Start with programming and boot. Test the button and display next, followed by microphone recording and speaker playback. Only after these subsystems pass should the device connect to the AI service and complete a full spoken exchange.
Repeat the test with the enclosure closed. If the device resets during playback, inspect the supply voltage under load. If Wi-Fi range decreases, examine the antenna clearance and enclosure material. If speech recognition becomes unreliable, check the microphone opening, speaker feedback, and internal acoustic path before changing the AI software.
| Test | Pass evidence | If it fails |
|---|---|---|
| Power and boot | Stable rail during Wi-Fi and playback | Check load peaks, regulator, and solder joints |
| Microphone | Clear recording at normal speaking distance | Check clock, data, opening, and supply noise |
| Speaker | Intelligible reply without reset | Check amplifier wiring and supply dip |
| Wireless | Repeated requests with case closed | Check antenna clearance and enclosure material |
| Battery | Measured runtime for actual usage pattern | Reduce idle load or revise cell and regulator |
The next build step
A credible portable AI project starts with a working interaction and ends with measured behavior in the finished enclosure. Build the voice path on modules, convert only the validated circuit to a PCB, review the manufacturing files, and use the first assembled unit to decide what revision two must fix.
Frequently asked questions about portable AI PCBs
Can an ESP32-S3 portable AI assistant answer questions offline?
This design cannot answer open-ended questions offline because its conversational model runs in the cloud. It can still perform local controls or limited recognition if the chosen firmware supports them.
Do I need a custom PCB before testing the AI software?
No. First prove audio capture, network requests, and playback on development hardware. Freeze the parts and pinout only after that path works.
Is a Gerber ZIP enough for PCB assembly?
No. A Gerber ZIP describes fabrication. Assembly also needs a checked BOM, placement data, and any notes required to resolve polarity or special components.
How can I estimate battery life accurately?
Measure current across representative use states and test the actual cell through a normal session. Battery capacity divided by a single headline current misses radio and audio peaks, conversion losses, and idle time.





