0.12mm covers most mixed boards. Drop to 0.10mm if the design has 0.4mm-pitch BGA, fine-pitch QFN or 0201 parts, since a thinner foil deposits less paste and cuts down on bridging. Go to 0.15mm or 0.2mm when the board is mostly 0603 and larger, connectors or shield cans that need more paste volume. If one board has both extremes, pick the thickness for the finest part and open up the larger apertures slightly.
Framework stencils are made for automated stencil printers. Non-framework is for hand printing, and it is lighter and cheaper to ship. A framed stencil is bigger and heavier, so shipping is often billed on dimensional weight rather than actual weight. If you print by hand or use a manual jig, non-framework is usually all you need.
It is the usable open area inside the sheet, not the sheet size. Your layout has to fit inside that area with margin around it for the squeegee. So a 200 × 150mm board fits the 420 × 520mm stencil (valid area 240 × 340mm), but not the 370 × 470mm one (valid area 190 × 290mm). If you are printing a panel, measure the panel, not the single board.
Only if your printer uses them to align. Half lasered is a sunken mark and works with automated printers. Lasered through is an open hole, meant for hand printing or semi-automatic machines. Choose None if you align by eye or against the board edge. One thing worth checking first: the fiducials have to exist in your Gerber. If there are none in the file, the option is ignored.
It removes small burrs and smooths the aperture walls so paste releases more cleanly. It matters most for IC lead widths under 0.5mm and for BGA. For boards that are mainly 0603 and larger, laser-cut walls are usually clean enough and you can skip it.
One stencil costs less and is fine when both sides fit side by side inside the valid area. Separate stencils are easier to handle in a real production run and keep paste from the unused half off your board. For most double-sided prototypes, a single stencil is the practical choice.
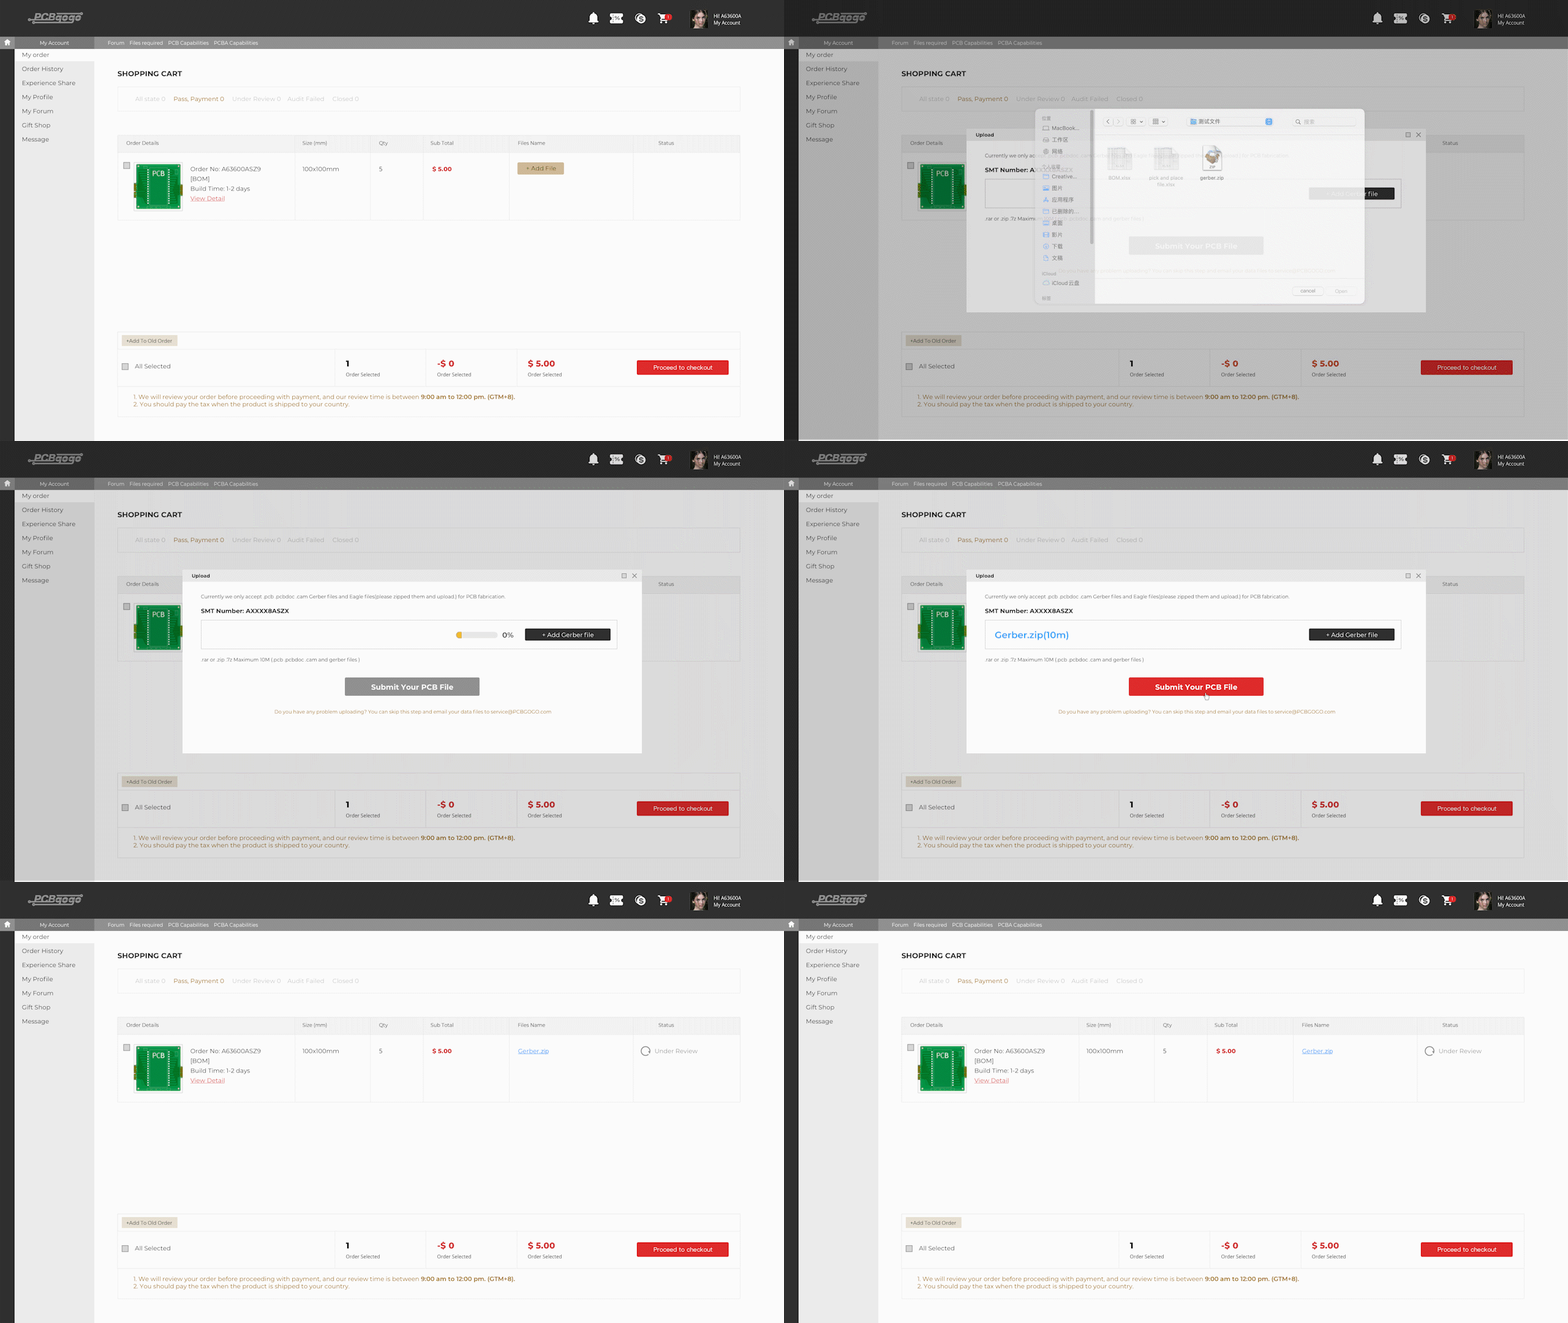
The solder paste layer from your Gerber, normally the .gtp and .gbp files, plus the board outline so the apertures can be placed correctly. If you already ordered the PCB from PCBgogo, select your PCB order number in the form above and the same file is used, so there is nothing to upload again.
Yes. When you place a PCBA order with PCBgogo, the stencil for that order is included at no extra charge. If you are ordering the stencil on its own, it is quoted separately using the calculator above.
[VERIFY: build time] after the file passes review. Shipping time depends on the method you pick at checkout and shows in the quote panel above.
Stainless steel stencils hold up well past a prototype run as long as you wipe the underside regularly and store them flat. What kills a stencil early is dried paste in the fine apertures and a bent corner from stacking things on top of it.
$0









 日本語
日本語
 한국어
한국어

