
What is PCB design: Essential Steps and Tips
PCB Design Workflow: Essential Steps and Best Practices
Designing a high-quality printed circuit board (PCB) requires more than placing components—it involves a rigorous process from concept to production. For engineers and hardware teams, mastering this workflow ensures your pcb prototype performs reliably, stays manufacturable, and meets cost targets.
1. Schematic Capture & Netlist Generation
Start with a complete schematic that includes exact component models and pin mappings.
Footprint accuracy: Ensures component fit on PCB layout.
Electrical Rule Check (ERC): Identifies net errors such as unresolved connections or incorrect polarity.
Netlist output: Creates a bridge between schematic logic and physical routing—critical for layout integrity.
2. Project Setup: Materials and Stack-up
Layer count: Choose between single, double, or multi-layer based on circuit requirements and cost.
Material choice: Standard FR?4 suits many designs, while high-frequency or high-current applications may need alternatives.
Impedance and EMC needs: Specify controlled impedance, ground/power planes, or shielding requirements before layout begins.
3. Component Placement Strategy
Proper placement reduces interference and improves performance:
Functional clusters: Group power circuits, analog sensors, digital processors, and RF modules with planned spacing to avoid crosstalk.
Signal path order: Layout follows signal flow—inputs to processing modules to outputs—minimizing unwanted trace lengths.
Mechanical fit: Reserve space for connectors, mounting holes, and mechanical fit constraints—preventing post-layout modifications.
Heat sources: Isolate high-power components; allocate space for heat sinks or thermal vias.
4. Trace Routing Techniques
Careful routing is key to signal integrity and reliability:
Trace width and current capacity: Use 1?mm trace for 1?A current (with 1?oz copper); adjust width for power or signal integrity needs.
Use of smooth angles: 45° or curved traces avoid impedance discontinuities seen in right-angle bends.
Maintain spacing rules: Keep at least 2× trace width between lines to reduce crosstalk; high-voltage traces often need ≥2.5?mm separation.
Ground plane integrity: Preserve continuous ground layers as reference planes; separate analog/digital/power ground areas.
5. High-Speed, RF & EMC Design
For high-frequency or mixed-signal boards, extra care is required:
Differential pair routing: Maintain equal lengths (variation <0.127?mm) and matched spacing for impedance consistency.
Clock trace isolation: Position clock lines away from sensitive modules and treat routing like high-speed signals.
Shielding and filtering: Place vias around RF or clock regions. Use capacitors and ferrite beads for filtering, and design around recommended EMC practices.
6. Design for Manufacturing (DFM) & Assembly (DFA)
Early manufacturability considerations avoid costly rework:
Clear silkscreen legends: Mark components accurately (including polarity and reference designators); avoid covering pads or vias.
Adequate spacing for assembly: SMT part gaps ≥0.3?mm and through-hole parts must fit tool clearance.
Panelization compatibility: Align Gerber layers correctly and design for V-cut or breakaway tabs as required.
7. Validation Checks – Before You Build
A thorough validation process ensures success:
DRC/ERC checks: Confirm trace widths, spacing, pad sizes, and correct net connectivity.
Signal & Power Integrity: Simulate trace impedances and voltage drops; practical validation using test benches.
EMC precompliance: Analyze trace layouts and measure edge coupling.
Thermal simulation: Evaluate hot spots using tools or thermal imagery.
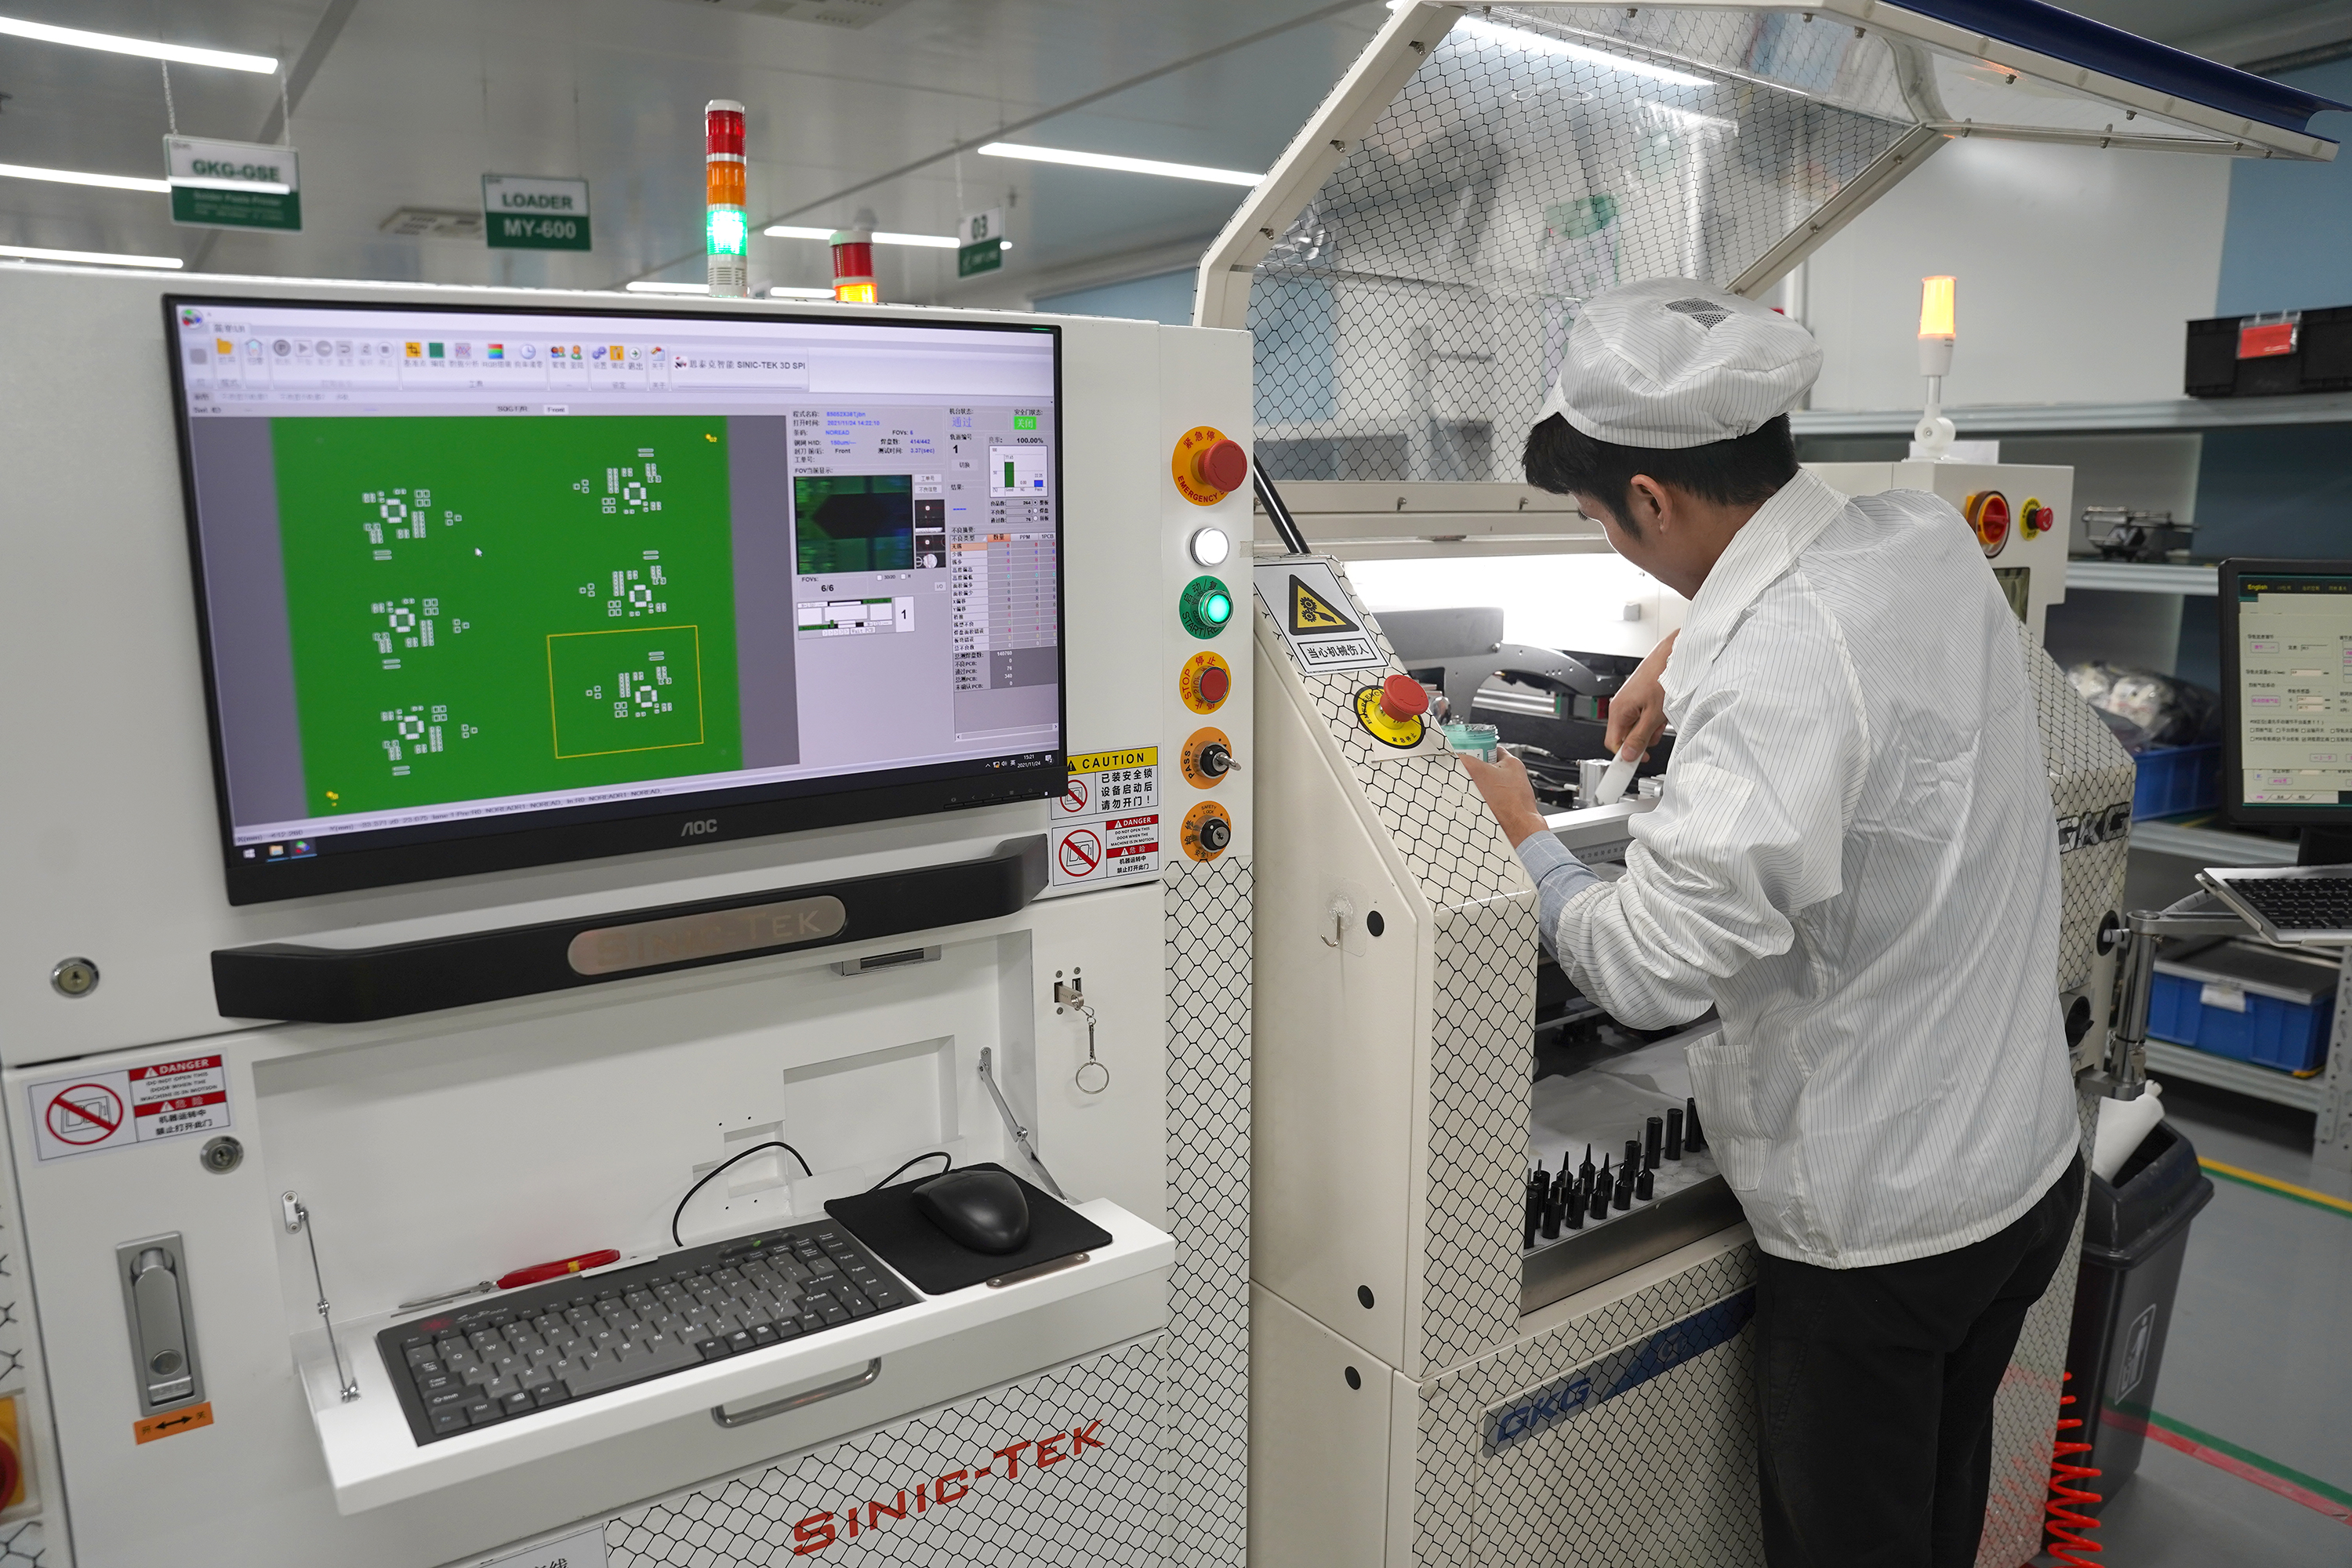
File verification: Review Gerber, drill files, and stack-up using a pcb file viewer. Detect misalignment before submission.
8. Collaboration with PCB Suppliers
Design success demands alignment between designers and fabricators:
Share complete documentation including silk screen specifications and layer definitions.
Use a pcb file viewer during handoff to clarify dimensions, silkscreen placement, and features.
Early engagement with fabricator helps resolve DFM issues, such as minimum drill size or silkscreen clarity.
PCBGOGO Support for Smooth Workflow
At PCBGOGO, we assist design teams from proof-of-concept through manufacturing. Whether you're producing a pcb prototype or preparing for volume production, we ensure layout, silkscreen clarity, and file readiness are aligned with real-world fabrication capabilities. Our use of pcb file viewer during review and transparent process handoff help catch issues early—supporting fast iteration and better outcomes.

