
 日本語
日本語
 한국어
한국어

Drill Point Angle Guide: How to Choose the Right Geometry
QUICK ANSWER A drill point angle is the included angle between the two main cutting lips at a drill tip. A 118-degree point is the common general-purpose starting choice, while a 135-degree point, often paired with a split point, is frequently selected for harder materials and more stable starting. The correct choice still depends on the work material, drill construction, hole depth, machine rigidity, coolant, feed, and required hole quality.
What Is a Drill Point Angle?
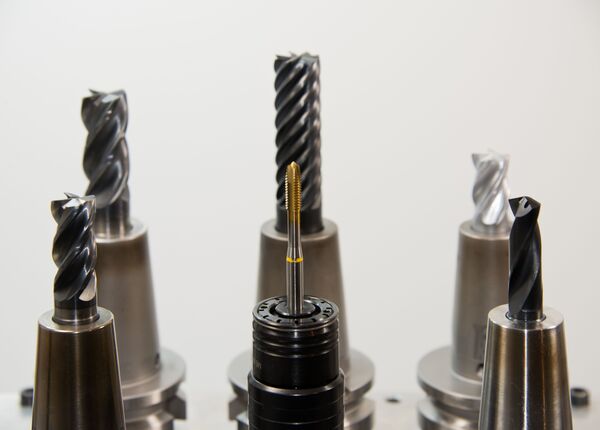
The drill point angle defines how the tip first meets the workpiece and how the cutting lips share the load. It is measured across the drill point, from one primary cutting lip to the other. A smaller included angle makes the tip look sharper and longer. A larger angle makes it look flatter and spreads engagement over a wider section of the lips.
Point angle is only one part of drill geometry. The chisel edge at the center pushes more than it cuts because surface speed approaches zero there. Lip clearance supports cutting behind the edge, while helix angle and flute shape influence chip evacuation. A split point thins and reshapes the center so the drill starts with less tendency to walk. Two drills with the same point angle can therefore behave differently.
Why Does Drill Point Angle Matter?
Drill point angle matters because it changes entry behavior, axial thrust, chip formation, heat distribution, wear, and the shape of the hole exit. Those effects become more visible in deep holes, small diameters, work hardening alloys, flexible sheets, and long production runs.
Starting and location: A balanced point helps both lips engage together. A split point can improve self-centering, but runout, uneven grinding, weak fixturing, and an inclined surface can still move the hole.
Thrust and power: A flatter point changes how force is distributed across the lips and center. Machine power and feed must still match the complete tool geometry and material, so angle alone does not predict thrust.
Chips and temperature: The point initiates chip formation, while flute geometry, feed, speed, coolant, and hole depth determine whether chips leave cleanly or pack around the tool.
Burrs and breakthrough: The point changes how much material remains under the drill before the lips break through. Backup support, feed reduction, tool sharpness, and material ductility also influence the exit edge.
Which Common Drill Point Angles Should You Know?
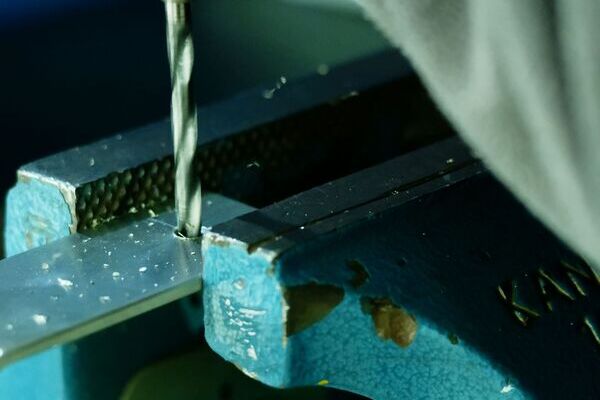
The most useful comparison is not simply which angle is best, but which angle provides a sensible starting geometry for a specific cutting condition. Tool manufacturer recommendations should take priority over a generic chart.
| Point angle | Typical starting use | Practical implication |
|---|---|---|
| 90 degrees | Thin sections, soft materials, specialty work | Sharp entry, but not a universal choice for hard materials |
| 118 degrees | General purpose drilling in many metals | Widely available and versatile for mixed shop work |
| 130 to 140 degrees | Many carbide and higher performance drills | Flatter geometry often supports stable entry and stronger lip corners |
| 135 degrees split point | Harder steels and work requiring controlled starts | Split point reduces the noncutting center and can limit walking |
| Special geometry | Composites, stacked materials, deep holes, micro drilling | Tool design should follow the exact material stack and quality target |
The familiar 118 degree versus 135 degree comparison is useful, but it often hides other differences. A 135 degree drill sold for stainless steel may also use cobalt high speed steel, carbide, a split point, a coating, or a different web thickness. Better performance cannot automatically be credited to point angle alone.
How Do You Match Drill Point Angle to Material?
Material selection should begin with the tool maker's application data, then be validated on the actual machine and hole. Hardness matters, but ductility, abrasiveness, thermal conductivity, work hardening, reinforcement, and part thickness can matter just as much.
Aluminum and other nonferrous metals: A 118-degree point is a common starting option, but polished flutes, adequate chip space, sharp edges, and a suitable lubricant often matter more when soft metal produces long or adhesive chips.
Mild and alloy steels: General-purpose 118-degree drills cover many jobs. Harder grades or production drilling may benefit from flatter points and split geometry, provided feed is high enough for the cutting edges to work instead of rub.
Stainless and heat-resistant alloys: A 135-degree split point is frequently considered because controlled starting and a reduced center web can help. Use a rigid setup, continuous feed, appropriate coolant, and tool maker data to limit rubbing and work hardening.
Cast iron: Abrasiveness, graphite, dust control, and tool material influence the decision. Many modern carbide drills use application-specific points rather than a generic workshop angle.
Plastics and composites: Exit damage, melting, delamination, fiber breakout, and laminate stacking can dominate the choice. Modified points such as brad, dagger, step, or double angle designs may outperform standard metal drills.
How Does Point Angle Affect Hole Quality?
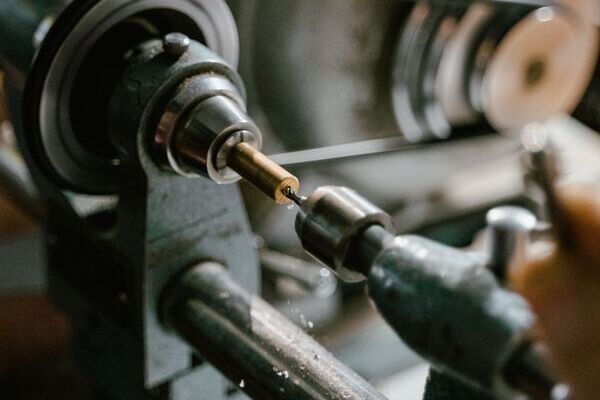
Hole quality reflects the complete drilling system, but the drill point establishes the first contact and the final breakthrough. Evaluate location, diameter, cylindricity, straightness, surface condition, burr height, and tool wear separately rather than calling a hole simply good or bad.
Oversize or out-of-position holes: Check spindle runout, drill symmetry, point condition, fixturing, spotting practice, and entry surface before changing the angle.
Heavy exit burrs: Confirm sharpness, feed at breakthrough, backup support, part thickness, and material ductility. A different point may help, but it is rarely the only lever.
Rough walls or chip marks: Improve chip evacuation, coolant delivery, peck strategy, speed, feed, and flute condition. Packed chips can score the bore even when the point angle is appropriate.
Early corner or lip wear: Review tool material, coating, cutting speed, coolant, lip balance, and abrasive inclusions. Wear in one lip may indicate runout or an asymmetric grind.
How Do You Select the Correct Drill Point Angle?
A reliable selection process treats point angle as one controlled variable within a documented drilling test. The following workflow is more useful than choosing from material name alone.
Define the hole requirement: Record diameter, depth-to-diameter ratio, through or blind condition, positional tolerance, finish, burr limit, quantity, and whether a later reamer, tap, or counterbore will follow.
Identify the full material condition: Specify grade, hardness or temper, coating, sheet thickness, and any stacked layers. Thin sheet and thick plate can require different breakthrough strategies even in the same alloy.
Check machine and setup limits: Consider spindle runout, toolholding, rigidity, power, coolant delivery, fixturing, entry angle, and whether a spot drill or guide bushing is available.
Use manufacturer application data: Select drill material, coating, flute form, web, point geometry, speed, and feed as a system. Guhring guidance, for example, distinguishes spotting for 118-degree HSS drills from spotting for carbide drills with points around 135 to 140 degrees.
Validate and record the result: Inspect the first holes, study chips and wear, then change one variable at a time. Preserve the successful tool code, lot, parameters, coolant, setup, and inspection method for production repeatability.
How PCBgogo Supports Precision CNC Drilling
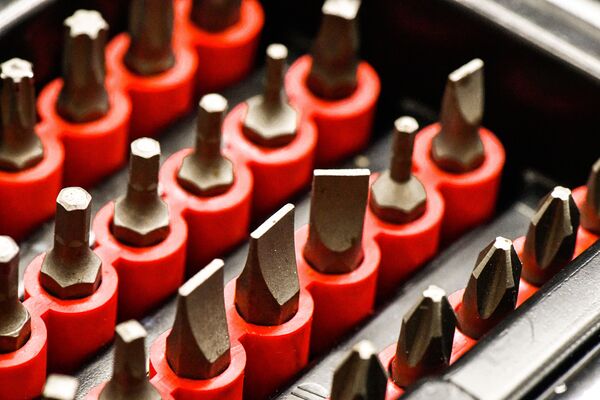
Reliable CNC drilling requires more than choosing a standard drill point angle. The tool geometry must work together with the material, hole diameter, depth, tolerance, spindle condition, workholding, coolant delivery, and inspection method. PCBgogo evaluates these factors during process planning to develop a suitable machining strategy for each custom part.
Multi axis machining capabilities: PCBgogo provides 3 axis, 4 axis, and 5 axis CNC milling, CNC turning, and mill turn machining. These capabilities support straight holes, off axis features, multi face hole patterns, and complex parts that may otherwise require several setups.
Extensive material selection: More than 30 metals and engineering plastics are available, including aluminum, stainless steel, alloy steel, brass, copper, titanium, ABS, polycarbonate, nylon, POM, PTFE, PMMA, and PEEK. Because each material produces different cutting forces, chips, heat, and burrs, drill point geometry and cutting parameters are selected according to the actual workpiece.
Precision hole machining: PCBgogo lists a minimum hole diameter of 0.3 mm and machining precision up to ±2 μm for suitable applications. Actual achievable tolerance depends on part geometry, material, hole depth, feature accessibility, and inspection requirements.
Engineering review before production: Engineers review thin walls, deep holes, tight internal features, tool access, and other manufacturability risks before machining. This DFM evaluation can identify potential drilling problems early and reduce unnecessary cost or rework.
Documented quality inspection: Machined parts undergo dimensional verification using equipment such as CMMs, calipers, and optical microscopes. First article inspection reports and material certificates are also available upon request.
PCBgogo supports quantities from a single prototype to production orders exceeding 100,000 parts. Upload a 3D CAD model and a controlled 2D drawing to receive an engineer-reviewed quotation and project-specific manufacturing feedback through the PCBgogo CNC machining service.
Summary
The right drill point angle improves accuracy, chip control, hole quality, and tool life. Use 118° for general-purpose drilling and consider a 135° split point for harder materials or more stable starts. For precision parts, PCBgogo combines material-specific tooling, multi-axis CNC machining, DFM review, and rigorous inspection to turn drilling requirements into reliable production results.
Frequently Asked Questions About Drill Point Angle
What is the standard drill point angle?
A 118-degree point is the most familiar general-purpose standard for conventional twist drills. Production carbide drills and application-specific tools often use other angles, so the catalog recommendation should govern the job.
What is the difference between 118 and 135 degree drill bits?
A 118 degree tip is sharper in profile, while a 135 degree tip is flatter and is often combined with a split point for controlled starting. Tool material, web, coating, flute geometry, speed, and feed can influence performance as much as the angle.
Which drill point angle is best for stainless steel?
A 135-degree split point is a common starting recommendation for stainless steel, but it is not universal. Use the drill maker's grade-specific data, a rigid setup, steady feed, suitable coolant, and a tool designed to resist work hardening conditions.
Does a 135 degree drill need a pilot hole?
Not necessarily. A split point can reduce walking, but a spot drill may still help when position is critical, the surface is curved, or the machine lacks rigidity. The spot angle should be compatible with the following drill so the cutting lips engage in the intended sequence.
Can drill point angle reduce burrs?
Yes, point geometry can change breakthrough behavior, but burr control also depends on sharpness, feed, support, material, and exit conditions. Test the full process rather than changing angle alone.





